|
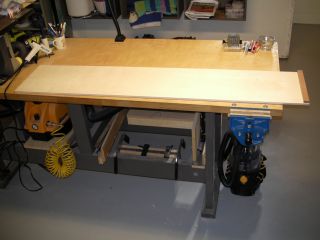
I needed to condense my shop somewhat, and that meant my Inca 410 jointer/planer and Ryobi 16/32 drum sander would have to go away. To ease the pain somewhat, I planned on a lunchbox planer that could go on a wheeled stand which could be tucked away when not in use. After much deliberation, I went with the Dewalt DW734. I've never used a lunchbox planer. Back in high school we had some giant industrial planer. And my Inca had a planer "head," which converted the jointer into a planer. It worked GREAT, but lacked a motorized feed; you had to push the material through the planer. It required quite a bit of force, too. I've never really been without access to a jointer. The Inca was one of my earlier acquisitions when I started getting more serious about woodworking. And a jointer is really critical if you plan on working with any rough stock. Planers are not jointers. Planers will make a board thinner, but they won't remove bow or twist. To remove bow/twist, you need a jointer, or a commitment to hand tools. I've read about using "planer sleds" in order to "joint" the face of lumber, but I had never actually done this. With my new Dewalt planer in place, it was finally time to give it a shot.
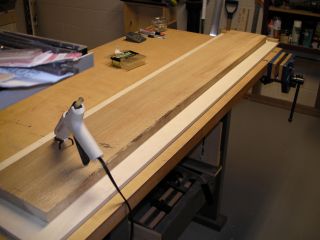
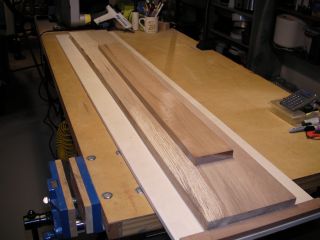
Many people are happy with their Rust sled. I didn't want to spend the time to make one. I know, I know, not that much to it. Still. And it looked heavy. I was hoping for something on the lighter side. I decided to try #2, and used a 12" wide by 60" long piece of BB plywood. I attached a 1/2" high by 1" wide piece of scrap to the front to act as a stop.
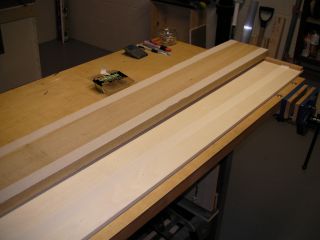
The results were just okay. On at least one trip through the planer, or when I was moving it about, the workpiece shifted on top of the shims. Also, as the board got progressively thinner, I got some waves in the final surface because I didn't have enough shims to support the thinner workpiece, and the rollers of the planer were able to compress it on the way through the planer.
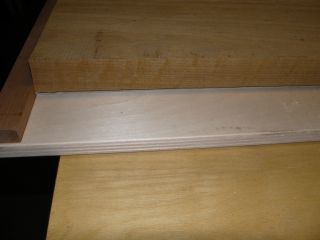
Much more important, I felt, was preventing the workpiece from moving in relation to the shims. Any movement of the workpiece, or the shims, would result in a lack of support which would result in a high spot in the workpiece.
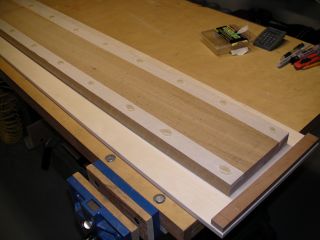
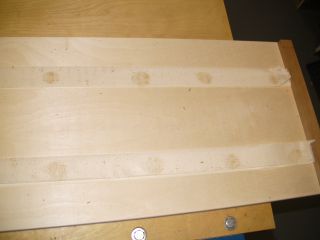
When the job was done, though, removing the old glue from the sled would be a pain. A blob here or there, no problem. I didn't want to have to spend minutes removing lots of glue blobs. Here is my solution: I place two strips of tape on the bottom of the workpiece, and two corresponding strips of tape on the top of the sled. The strips of tape line-up with each other when the workpiece is placed on the sled, and the glue stays on the tape. Next, I squeeze blobs of holt-melt glue onto the bottom of the workpiece (on the tape), flip the workpiece onto the sled (keep the tape aligned), and allow the hot-melt glue to drip down and form a shim. Think of the glue blob as a stalactite that drips to the sled and creates a corresponding stalagmite. The tite and mite stay joined in the middle to form the shim. Gravity creates a hot melt glue shim of the ideal thickness. Once the glue cools, I can run the sled (with the workpiece) through the planer and get a perfectly flat surface every time, no surprises. I don't have to worry about the workpiece shifting in relation to the shims when I move the assembly from the bench to the planer, it is all locked together. I can turn the entire assembly end for end without worry that I'll change the shim positioning. And when I'm done, I just pry (with my fingers) the workpiece off the sled. The tape typically breaks its bond from the workpiece and stays on the sled. When I peel the bottom layer of tape from the sled, I get both layers of tape, with the glue trapped between.
--Phil This page has been viewed 57610 times. |

 My
Planer
Sled Technique
My
Planer
Sled Technique